Category: Snacks

High-Protein Nut & Seed Breakfast Cereal

High-Protein Nut & Seed Breakfast Cereal

High-Protein Nut & Seed Breakfast Cereal

Looking to add some variety to your breakfast rotation? No time to cook?
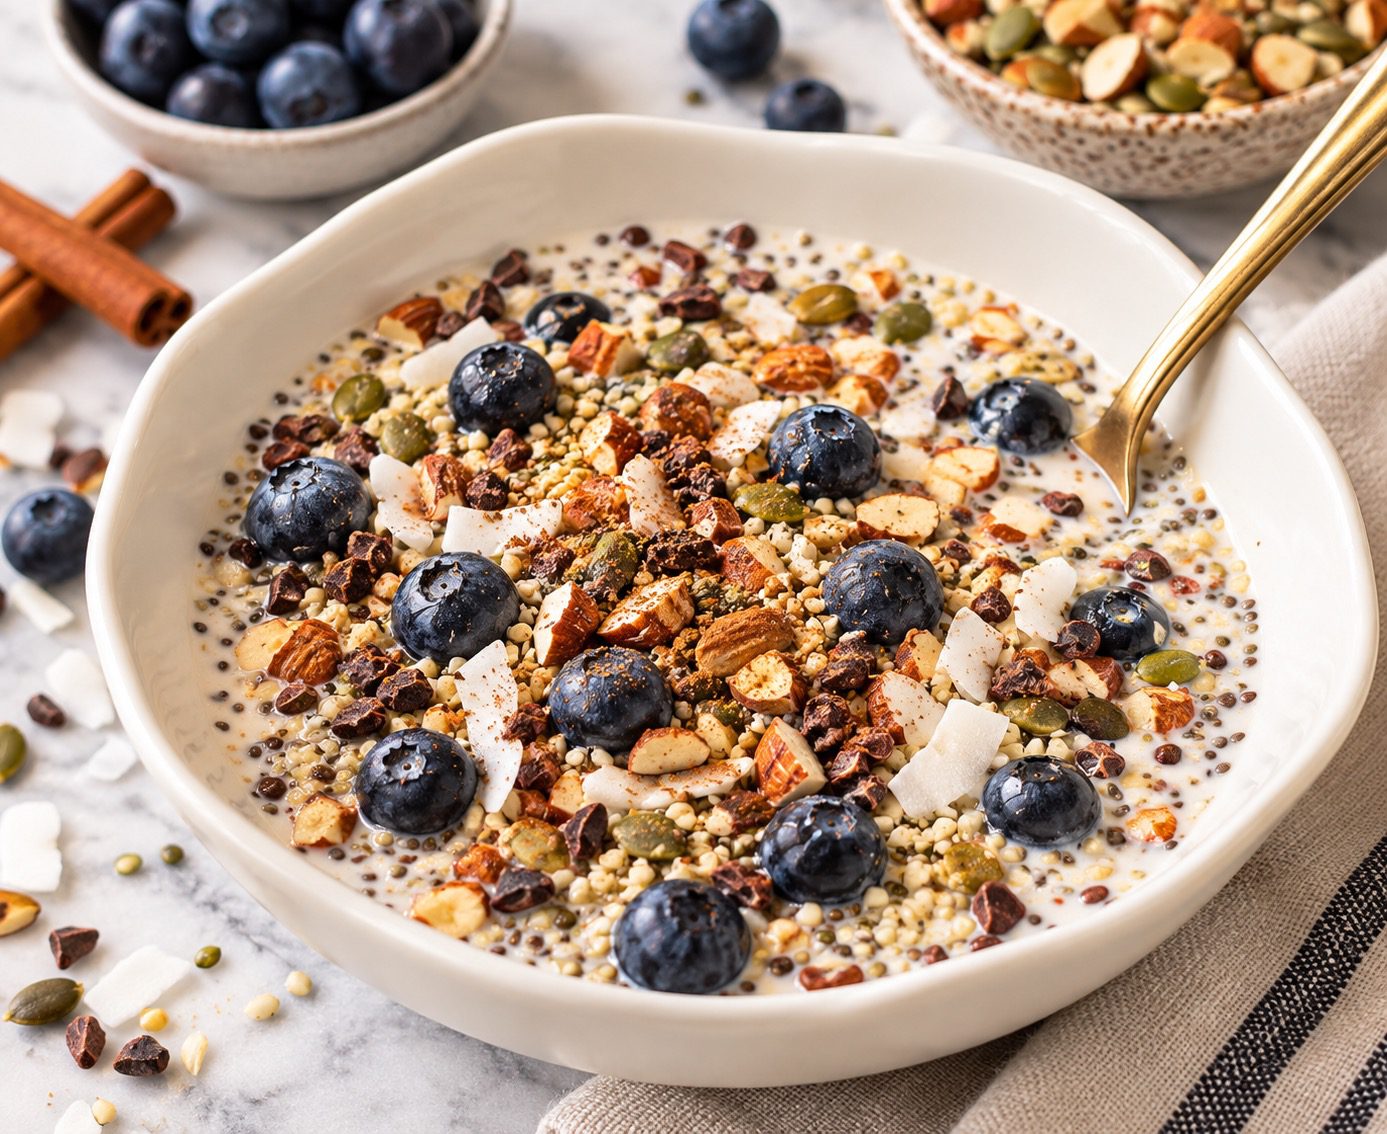
This High-Protein Nut & Seed Breakfast Cereal is one of my favorite alternatives to traditional cereal. Instead of a bowl built primarily around refined carbohydrates, this combination of hemp, pumpkin, chia and almonds delivers plant-based protein, fiber and healthy fats to help make breakfast more satisfying.
Add blueberries for natural sweetness and antioxidants, cacao nibs for a little chocolatey crunch, and your favorite unsweetened milk. For an additional protein boost, mix in collagen peptides or a plant-based protein powder.
It takes about five minutes to make, requires absolutely no cooking and works just as well for a quick breakfast as it does for an afternoon snack.
Servings: 1
Course: Breakfast, Snack

Ingredients
  

  • 2 tablespoons hemp seeds
  • 2 tablespoons pumpkin seeds
  • 2 tablespoons almonds chopped or sliced
  • 1 tablespoon chia seeds
  • 1 tablespoon cacao nibs
  • 1 tablespoon unsweetened coconut flakes optional
  • ½ teaspoon ground cinnamon
  • Pinch of sea salt
  • ¼ cup fresh blueberries
  • ¾ –1 cup unsweetened almond milk or milk of choice

Method
 

  1. Add the hemp seeds, pumpkin seeds, almonds, chia seeds, cacao nibs and optional coconut flakes to a cereal bowl.
  2. Sprinkle with cinnamon and a small pinch of sea salt and stir to combine.
  3. Add the blueberries.
  4. Pour ¾–1 cup of unsweetened almond milk over the mixture.
  5. If using collagen peptides or protein powder, whisk it into the milk before pouring it over the cereal for the smoothest consistency.
  6. Enjoy immediately for maximum crunch, or let the cereal sit for 5–10 minutes if you prefer the chia seeds to soften and thicken the milk slightly.

Notes

Estimated Nutrition Facts

Per serving, made with ¾ cup unsweetened almond milk and 1 tablespoon unsweetened coconut:
  • Calories: ~440
  • Protein: ~19 g
  • Carbohydrates: ~24 g
  • Dietary Fiber: ~10 g
  • Total Fat: ~34 g
  • Saturated Fat: ~7 g
  • Total Sugars: ~5 g
Dark Chocolate-Dipped Energy Cookies

Dark Chocolate-Dipped Energy Cookies

Dark Chocolate-Dipped Energy Cookies

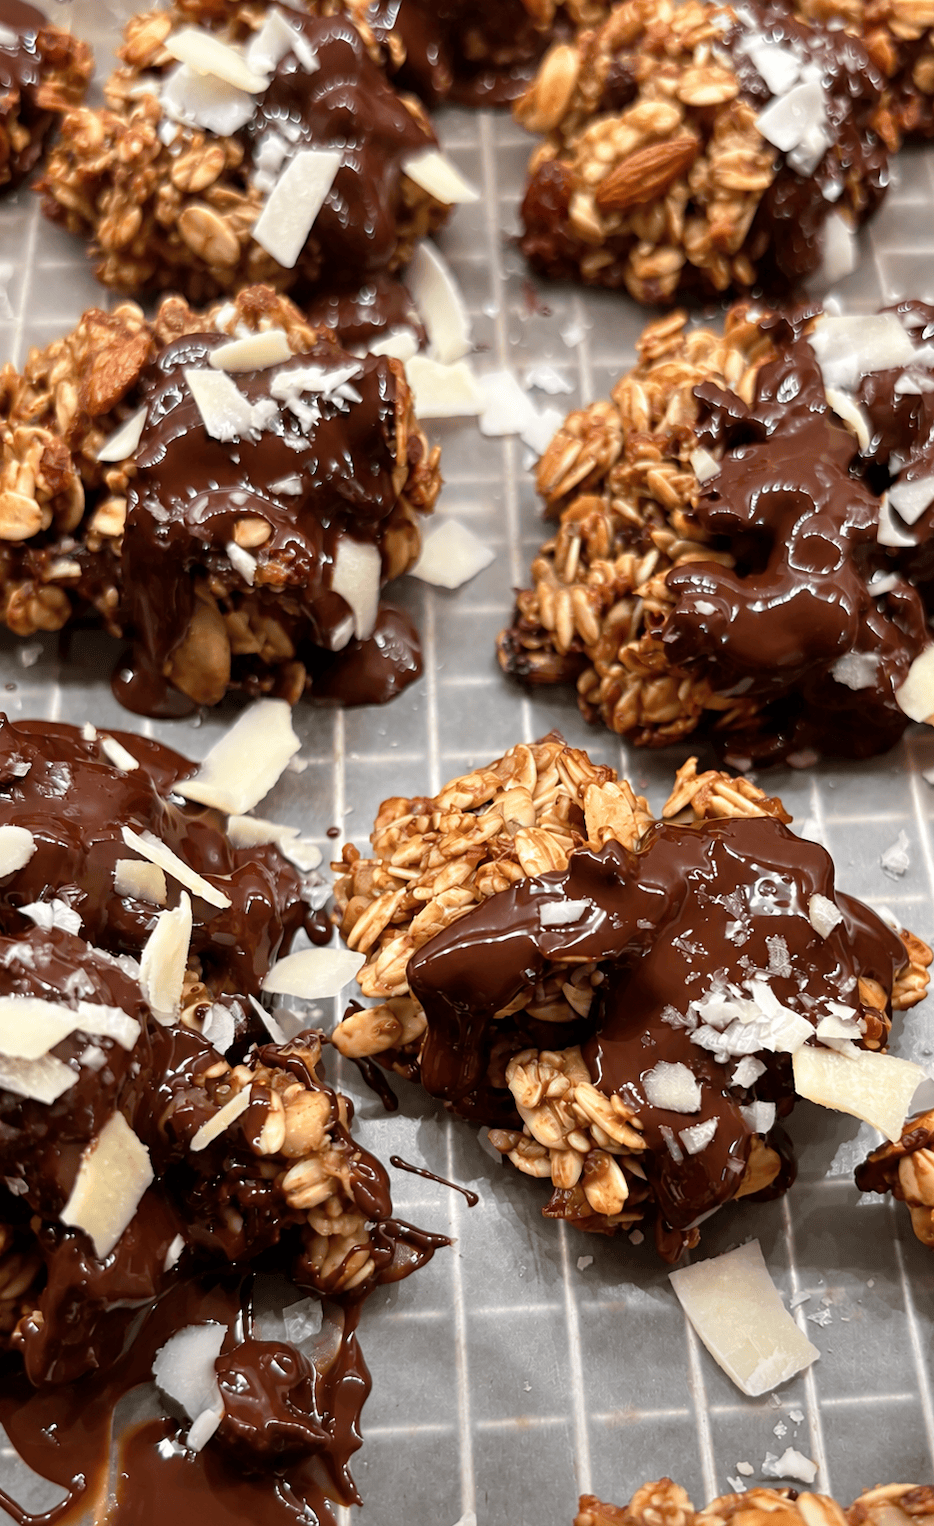
Skip the high-sugar, low-fiber packaged energy bars and make a batch of these nutrient-dense breakfast cookies instead.
Naturally sweetened with banana and dates, these cookies combine whole-grain oats, nuts, seeds and natural peanut butter for a satisfying combination of fiber, healthy fats and plant-based protein. One end gets dipped in dark chocolate for just enough indulgence without turning them into a sugar-loaded dessert.
They're easy to grab on your way out the door, pack in a lunchbox, or enjoy as an afternoon or pre-workout snack. They're also a great make-ahead option for busy mornings.
Course: baked goods, Dessert, Snack

Ingredients
  

  • 1½ cups rolled oats
  • 2 tablespoons pumpkin seeds
  • 1 tablespoon ground flaxseed
  • ¼ cup chopped almonds
  • ¼ cup chopped walnuts
  • ⅓ cup + 1 tablespoon chopped dates
  • 1 tablespoon chia seeds
  • ½ teaspoon cinnamon
  • ¼ teaspoon fine sea salt
  • ¼ cup natural peanut butter
  • 1 medium ripe banana mashed
  • 1 tablespoon honey
  • 2 ounces 70–85% dark chocolate chopped
  • ½ teaspoon coconut oil optional, for a smoother chocolate coating

Method
 

  1. Preheat the oven. Heat oven to 350°F. Line a large baking sheet with parchment paper.
    Combine the dry ingredients. In a large bowl, stir together the oats, pumpkin seeds, ground flaxseed, almonds, walnuts, dates, chia seeds, cinnamon and salt.
    Combine the wet ingredients. In a separate bowl, mash the banana well. Add the peanut butter and honey and stir until smooth.
    Make the dough. Add the banana mixture to the oat mixture and stir until everything is evenly incorporated. Let the mixture sit for about 5 minutes so the oats, flax and chia can absorb some of the moisture.
    Shape the cookies. Divide the mixture into 15 portions and place on the prepared baking sheet. Use your hands or the back of a spoon to firmly press each portion into a cookie about ½-inch thick. These cookies won't spread much during baking, so shape them before they go into the oven.
    Bake. Bake for approximately 15 minutes, or until the edges are lightly golden. Allow the cookies to cool on the baking sheet for 5 minutes before transferring to a wire rack. Cool completely before dipping.
    Melt the chocolate. Place the dark chocolate and optional coconut oil in a microwave-safe bowl. Microwave in 20-second intervals, stirring between each, until just melted and smooth.
    Dip. Dip one end of each cooled cookie into the melted dark chocolate, allowing any excess chocolate to drip back into the bowl.
    Set. Return the cookies to the parchment-lined baking sheet and allow the chocolate to set completely. For faster setting, refrigerate for about 10–15 minutes.

Notes

Estimated Nutrition Facts

Per cookie, based on 15 cookies:
  • Calories: ~140
  • Protein: ~4 g
  • Carbohydrates: ~17 g
  • Dietary Fiber: ~3 g
  • Total Fat: ~8 g
  • Saturated Fat: ~2 g
  • Total Sugars: ~7 g
Nutrition information is an estimate and will vary depending on the brands of peanut butter and dark chocolate used and the size of the banana and dates.
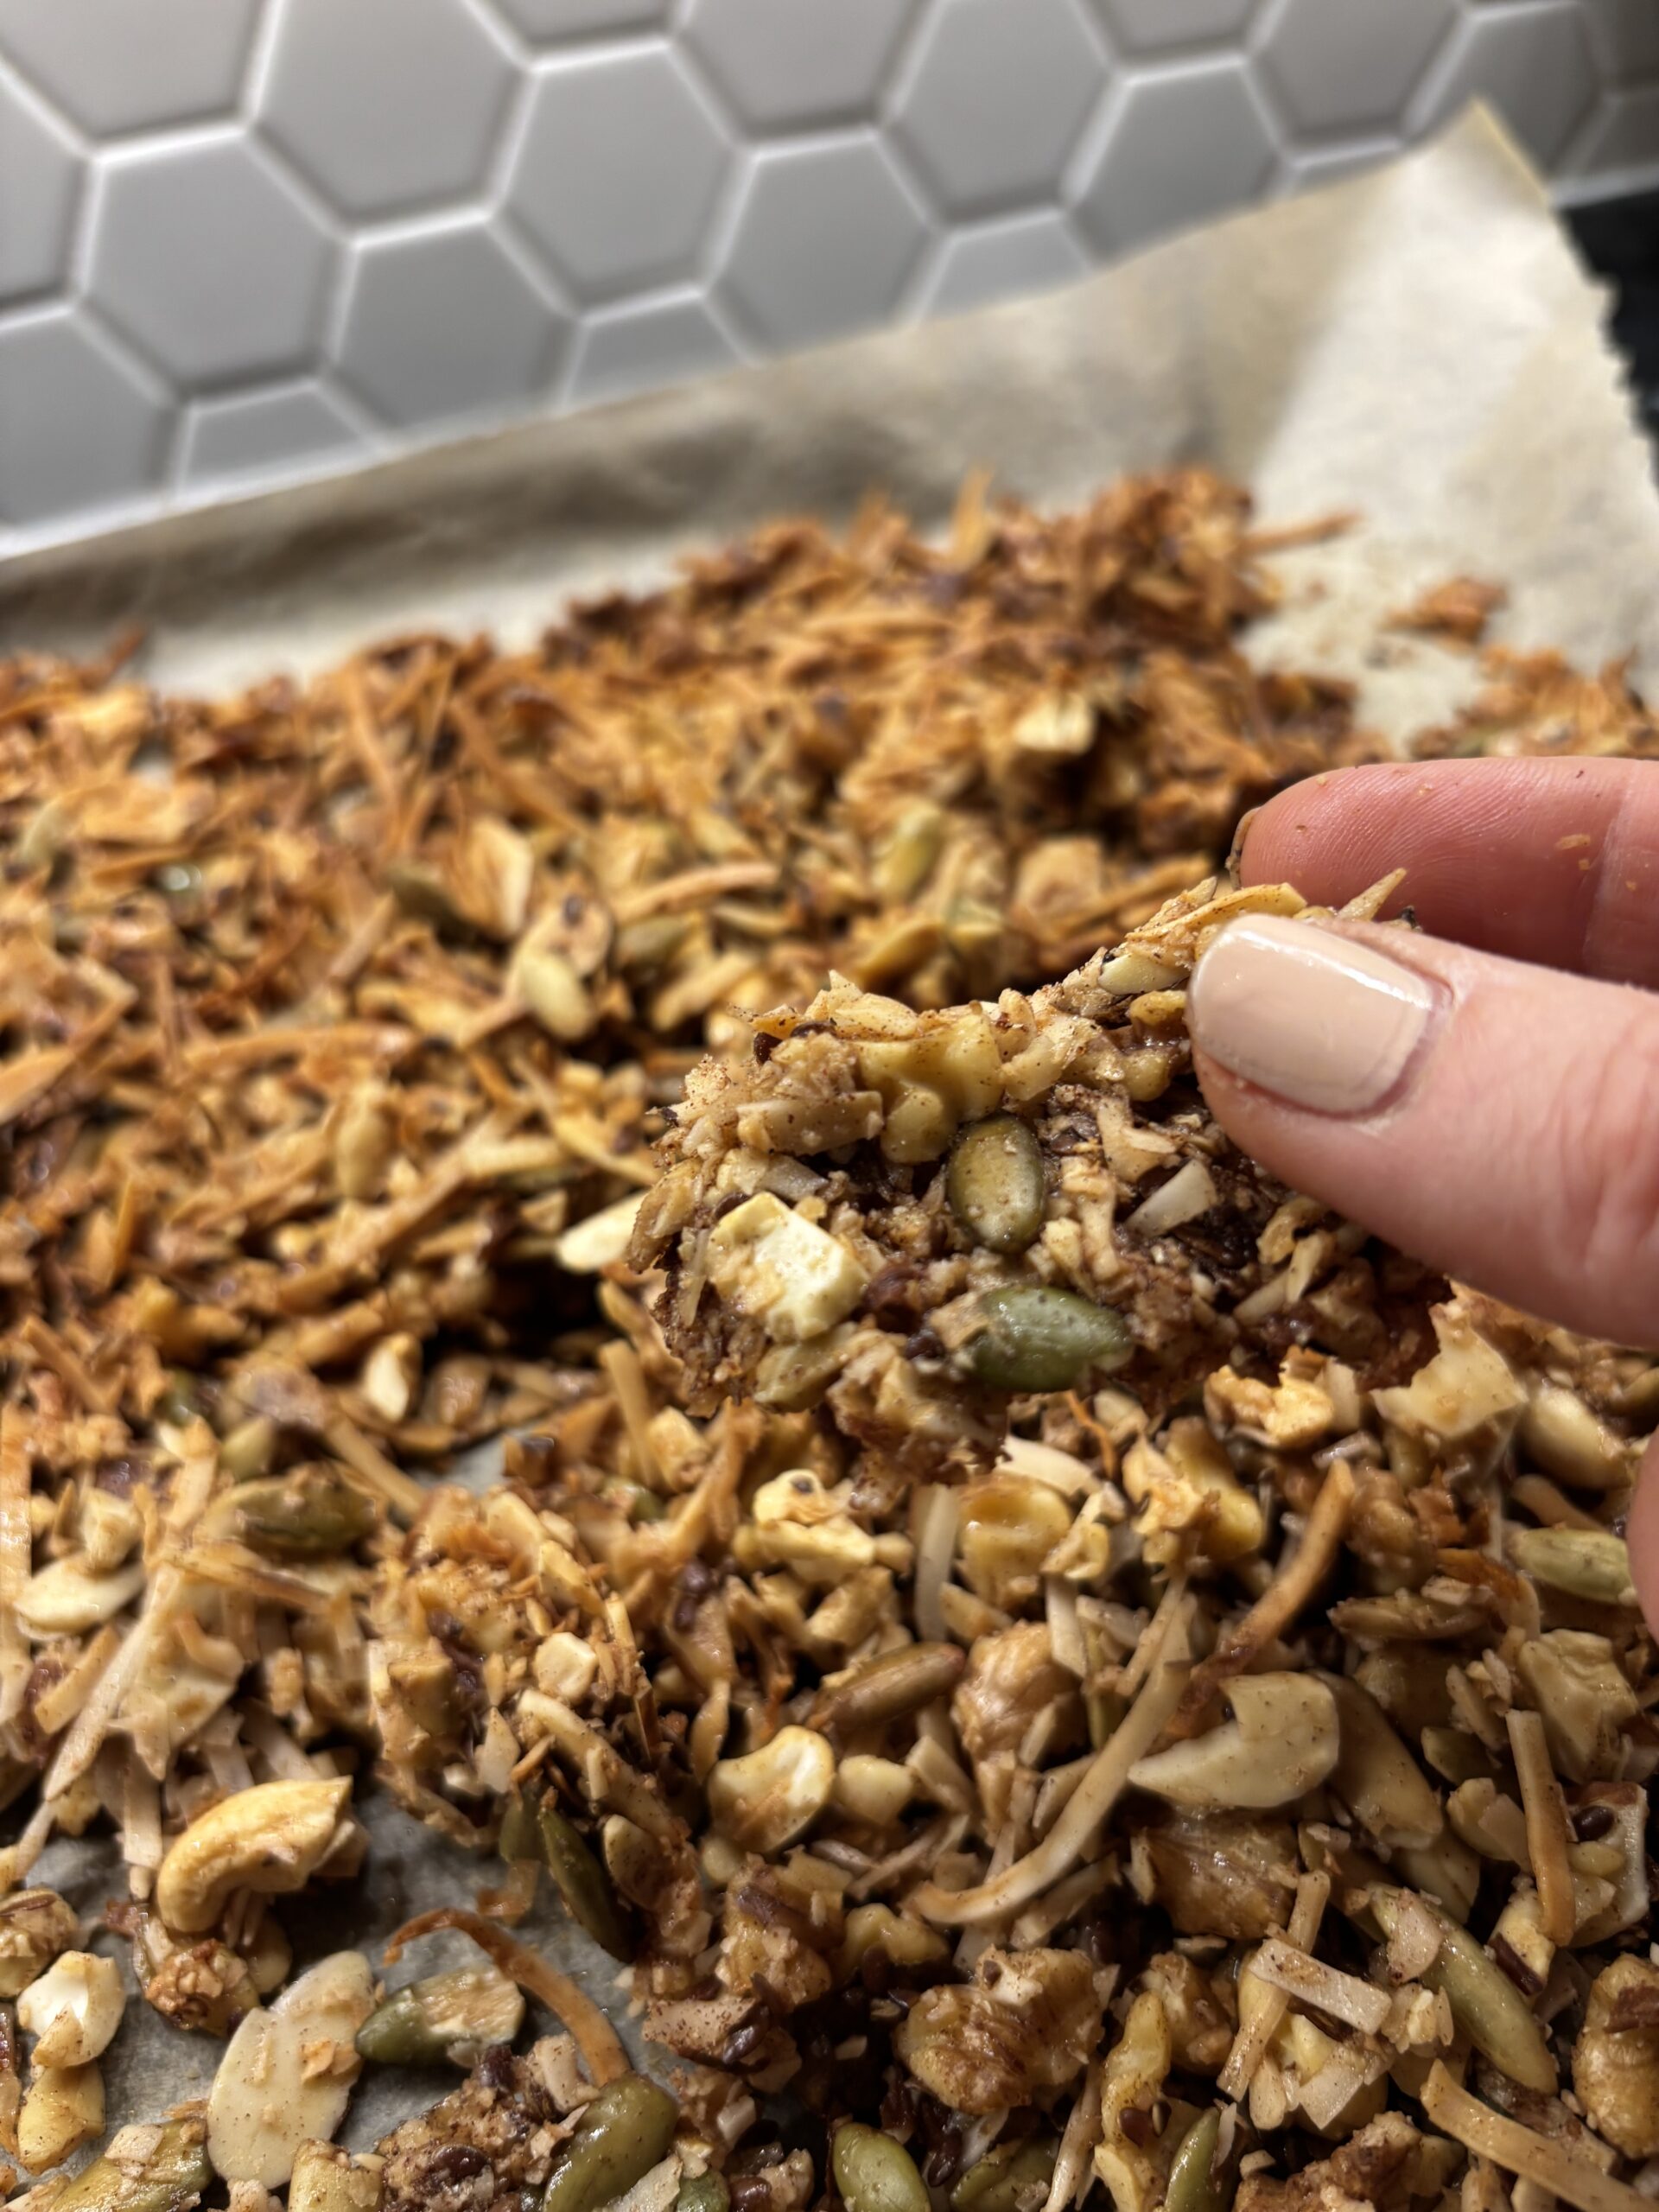
Grain Free Coconut Granola

Grain Free Coconut Granola

Grain-Free vs. Traditional Granola: Which Is Right for You?

Granola is a breakfast and snack staple—but not all granolas work the same way in the body. One of the most common questions I hear is whether grain-free granola is actually better than traditional oat-based granola.

The short answer? It depends on your body, your goals, and how you’re using it.

Let’s break it down so you can decide what makes the most sense for you.


Why Some People Choose Grain-Free Granola

Grain-free granolas are typically made with nuts, seeds, and coconut instead of oats or other grains. This changes how they digest and how they impact blood sugar.

1. Blood Sugar Stability

Grain-free granola is naturally lower in carbohydrates and higher in fat and fiber. For many people, this means:

  • Fewer blood sugar spikes
  • Less mid-morning energy crash
  • Better appetite control

This can be especially helpful for individuals with:

  • Insulin resistance or prediabetes
  • PCOS
  • Perimenopause or menopause
  • A history of feeling shaky or hungry soon after carb-heavy breakfasts

2. Digestive Comfort

Even gluten-free oats can be irritating for some people.

Grain-free granola may be a better fit if you experience:

  • Bloating or gas after eating grains
  • IBS symptoms triggered by oats
  • Sensitivity to gluten (even without celiac disease)
  • The need for a short-term elimination diet

Because it skips grains altogether, many people find grain-free granola easier on their gut.


3. Longer-Lasting Fullness

Grain-free granola tends to be more calorie-dense, but also more satiating.

Thanks to its higher fat content:

  • Smaller portions feel satisfying
  • Hunger stays away longer
  • It works well as a topping rather than a bowl-sized serving

This can be useful for anyone trying to reduce constant snacking or manage cravings.


4. Simpler Ingredient Lists

Homemade or minimally processed grain-free granolas often avoid:

  • Refined flours
  • Added fillers
  • Industrial seed oils

This makes them appealing for people who prefer whole-food ingredients and less processing overall.


Why Traditional Oat-Based Granola Still Has a Place

Grain-free doesn’t automatically mean better for everyone. Traditional granola—especially when made with quality ingredients—can absolutely be part of a healthy diet.

1. Gut-Healthy Fiber

Oats contain beta-glucan, a type of soluble fiber that can:

  • Support gut health
  • Help lower LDL cholesterol
  • Improve insulin sensitivity in some people

For those who tolerate oats well, this fiber can be a real benefit.


2. Better Fuel for Active Lifestyles

Traditional granola provides more carbohydrates, which can be helpful for:

  • Athletes
  • Dancers
  • Runners
  • Highly active teens or college students

In these cases, the extra carbs support energy demands rather than causing crashes.


3. More Affordable and Accessible

Oats are widely available and budget-friendly, making traditional granola:

  • Easier to find
  • Less expensive to make or buy
  • Familiar and comforting

For many people, this makes oat-based granola a practical choice.


Grain-Free vs. Traditional: A Quick Comparison

Grain-Free GranolaTraditional Granola
Lower carbohydrateHigher carbohydrate
Higher fatHigher fiber
Smaller portion sizeLarger portion size
Blood sugar friendlyEnergy boosting

Neither option is “better”—the best choice depends on how your body responds.


How I Recommend Using Granola

Rather than thinking of granola as a cereal, I often suggest:

  • Grain-free granola as a topping or snack
  • Traditional granola as fuel or part of a balanced meal

Whichever you choose, pairing granola with protein (Greek yogurt, skyr, soy yogurt) and fiber (berries, chia, flax) helps create better blood sugar balance and longer-lasting energy.


The Bottom Line

Choosing between grain-free and traditional granola isn’t about rules—it’s about listening to your body.

If you feel better with stable energy and smaller portions, grain-free may be a great fit. If you tolerate oats well and need more fuel, traditional granola can absolutely work.

The best granola is the one that supports your digestion, energy, and lifestyle.


If you’d like help choosing or making a granola that fits your health goals, feel free to reach out or explore my favorite recipes and nutrition resources.

Grain Free Coconut Granola

Servings: 8
Course: Breakfast

Ingredients
  

  • 1½ cups flaked coconut
  • ½ cup raw almonds roughly chopped
  • ½ cup cashews roughly chopped
  • ½ cup walnuts roughly chopped
  • ½ cup pumpkin seeds
  • 1 tbsp flax seeds
  • 1 tsp cinnamon
  • ½ tsp sea salt
  • ¼ cup maple syrup
  • 1 tbsp olive oil
  • 1 tsp vanilla

Method
 

  1. Preheat oven to 320 convection. Line a baking sheet with parchment paper.
  2. Add dry ingredients to a bowl and mix well.
  3. Add wet ingredients to a small bowl and stir to combine.
  4. Pour over dry ingredients and stir WELL to combine.
  5. Spread in an even layer onto parchment paper.
  6. Bake for 20 minutes, turn the pans and bake for another 5-10 minutes. Keep a close eye as you don’t want it to burn. The granola will turn a golden brown which is what you want!
  7. Let it cool completely before breaking it apart with your hands.
  8. Place in mason jars and try not to eat it all at once!

Notes

Nutrition Facts

Serving size: ⅛ of recipe
Per serving
  • Calories: ~275 kcal
  • Protein: ~6 g
  • Total Fat: ~20 g
  • Carbohydrates: ~20 g
  • Fiber: ~4 g
  • Total sugars: ~9 g [added sugars (maple syrup): ~7 g]
  • Net Carbs: ~16 g
  • Sodium: ~115 mg
Brownie Balls

Brownie Balls

I just can’t keep these in stock, so the recipe is on repeat in my kitchen. To any mom of a growing teen: perfect energy and nutrient dense snack for in between school and sports when they want something that tastes good and will give them some fuel to power through until dinner. Ingredients are easy to keep stocked in the pantry and the balls don’t take long to make – just need a good blender or food processor- Vitamix is what I use. You may sneak a few and here in there when craving a sweet without the wheat.

Brownie Balls

Course: Snack

Ingredients
  

  • 2 cups pitted dates
  • 1/2 cup nut butter of choice
  • 1 1/2 cup old fashioned rolled oats
  • 6 tablespoons dark chocolate chips
  • 2 tablespoon chia seeds
  • 1/4 teaspoon kosher salt
  • 6 tablespoons cocoa powder
  • 1 tablespoon MCT oil

Method
 

  1. Place the dates in the bowl of a food processor fitted with a steel blade or high speed blender like a Vitamin
  2. Pulse until the dates break into small bits and form a ball
  3. Add the MCT oil, oats, cocoa, nut butter, chocolate chips, chia seeds, and salt.
  4. Pulse until mixture is smooth.
  5. At this point, the dough will look like crumbs, but when you scoop into your hand and press to roll it into a ball, it should hold together
  6. Roll into balls and store in the fridge or freezer